Our team of installers undergo daily monitoring for COVID-19 symptoms,
and also provide self-declaration on the AROGYA SETU app about their health conditions. They are trained to exercise personal hygiene at all times which includes the use of face masks, hand sanitizers and PPE kits. The entire flooring installation process is carried out in complete adherence to social distancing protocols and precautionary measures to ensure utmost safety-both for our customers and our installers.
Welspun Installation Guidence
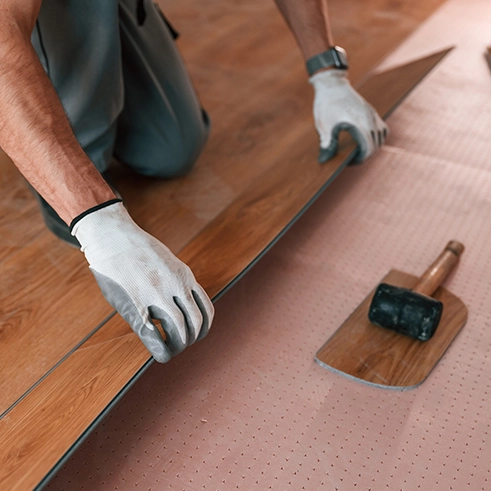
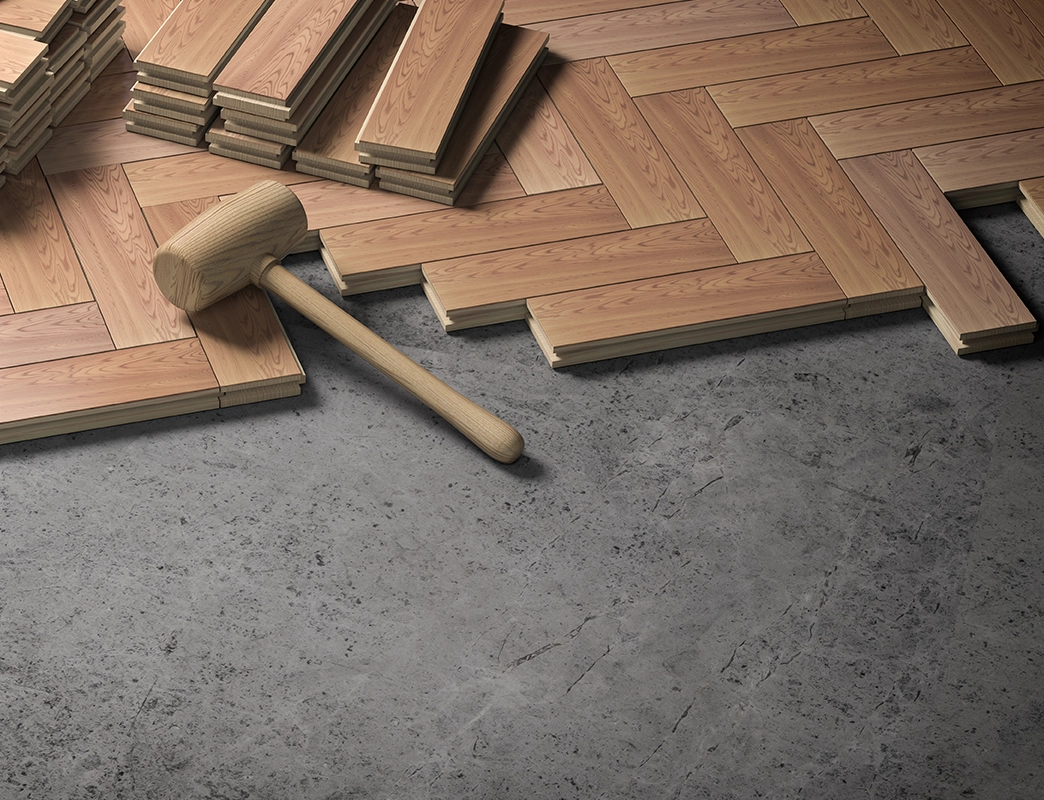
Click-N-Lock® tile's
Our Click-N-Lock® tile's come with advanced Wel-Lock™ technology that enables the tile's to easily fit against one another through a unique locking mechanism. This ensures strong locking at the joints and makes installation a quick and effortless process. Click-N-Lock® tile's can be laid in less than a day without any dust / noise,
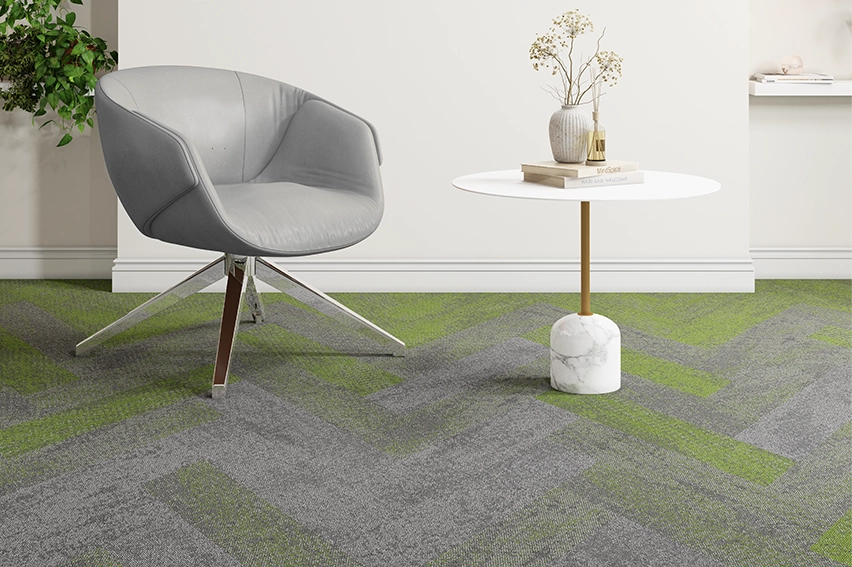
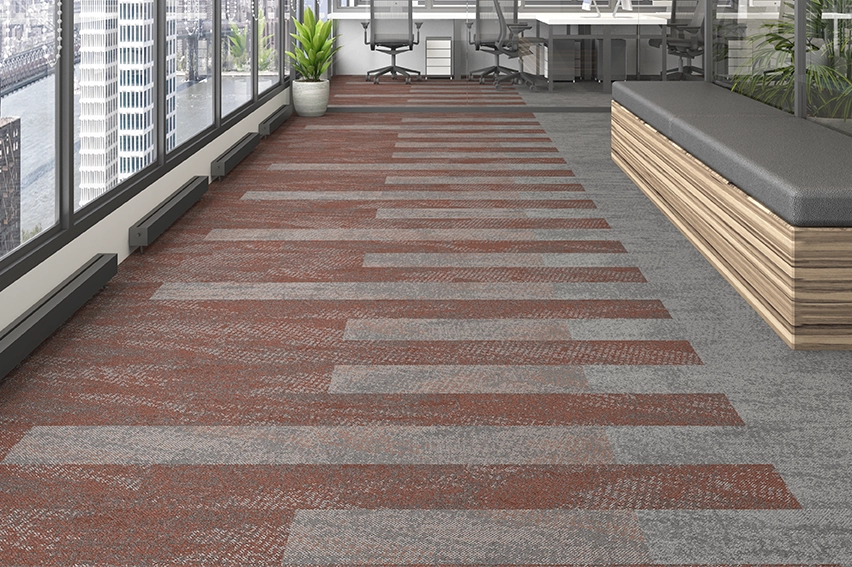
Our Carpet tile's are available in a variety of vibrant designs and help in creating customized floors. They are easy to install and even easier to manage. Carpet tile's are India's first anti-viral* soft flooring solution and eliminate 99.68% of viruses. It also absorbs C02 thereby reducing indoor pollution and improving the air quality of the space.
Depending on the site of tile installation, Carpet tile's are installed by our trained professionals using pressure-sensitive adhesive or adhesive tape. Check out the tile's installation process below to know more.
Clean the surface to ensure that it is dust and moisture free
02
Apply thc pressure sensitive adhesive, Wait for the adhesive to become sticky
03
Start Installation by placing tile one after other as per laying pattern
04
Follow Design Pattern and Complete the installation
05
Protect installed area using Polythene
Using adhesive tape
01
Clean the surface to ensure that it is dust and moisture free
02
Mark the centre of the room
03
square up the lines
04
Initiate sample layout
05
Identify Carpet Pile direction
06
Place the double sided tape or sticker tab on the corner of every tile
07
Trim tile's at the walls and complete the installation
08
Clean out Remaining area
Wall to Wall Carpets
When it comes to striking a great 'first impression' of beauty and prestige, our Wall to Wall Carpets are above everything else. They splendidly enhance the 100k Of any space and give a feeling of distinction in interior design Our Wall to Wall Carpets are also India's first anti-viral• soft flooring solution which eliminates 99.68% Of virus.
It's important to get the flooring installation right in order to bring out the true elegance Of Wall to Wall carpets. Trained professionals follow a checklist of practices to install them correctly. Flooring installation is carried out in 2 different methods - installation using permanent adhesive (with or without EPE foam underlayement) or